Showing posts with label valentines cards. Show all posts

Fingerprint Valentines


I am so excited to share these adorable "mini" fingerprint valentine's cards E and I made yesterday! The best part? They are painted on index cards!

I don't know about you, but I just adore cards and letters sent to me that have been twritten on index cards. OK, it's probably just me but oh, they do make a fun canvas for small hands to work with.

To make these minimalist cards is super simple and something that both you and your toddler will enjoy. All you need are...

-A few Index Cards (ours have the lines on the back for writing a sweet love note)
-Water Colors
-Wee One's fingers
-Crayons
-Black Ball Point Pen (I like Jetstream Pens the best)


What to Do:
Wet the watercolor with a damp towel. Then, using a wet sponge press your child's pointer finger (or thumb for larger hearts) into the sponge to moisten. Dip the moistened finger into the watercolor and then press onto the index card twice side by side to create a "heart shape". Allow to dry. Trace the hearts with a black pen.

Draw hearts, roses, arrows, etc on some of the cards and hand them over to your toddler to decorate. You can see E's creation below:


Have fun!
XOXO

Collaged Heart Valentines Card Tutorial

I know, I know another Valentine's Day Card in the same week. What can I say? I heart Valentine's Day. Whether you do or not here is another quick and easy VDay card tutorial that is perfect for anyone with toddles. I came up with this card for the play group we belong to and we will be testing it out next week. Emory had a blast ripping all of the paper for me. I did most of the construction, but he had some fun interacting with the paper and trying to stick it into the heart shape.Hopefully your toddler and older children have as just as much fun as we did.

 Materials:
  • Red, pink and purple construction paper
  • Writing pencil
  • School glue or glue stick
  • Pre-made card or folded construction paper
 Step 1: Rip the paper into small chunks. Toddlers are great at this! Then using a pencil draw free-hand or use a stencil to draw a heart shape onto your card.
 Step 2: Fill in the heart with a glue stick or with school glue. I used school glue for this tutorial, but have used a glue stick in the past.
 Step 3: Begin to place the pieces of paper chunks inside the heart. You can alternate the colors in the heart or fill your heart in using just one color. As you can see, I used both red and pink paper.
 Step 4: Place some glue around the outside lines of the heart and place skinnier strips of purple paper to make the outline pop more.
And now you have a stunning hand made Valentines to give out! Enjoy!

XOXO,
Julia

Paper Swirl Valentine's Card Tutorial


 Materials:

-1 pre-folded card or piece of card stock
-Valentine's heart stencil
-Colored pencils in red and magenta or purple
-Pink, red, and purple construction paper
-Scissors
-Regular pencil
-Glue or glue dots
-Outlining pen

 place your stencil on top of your card
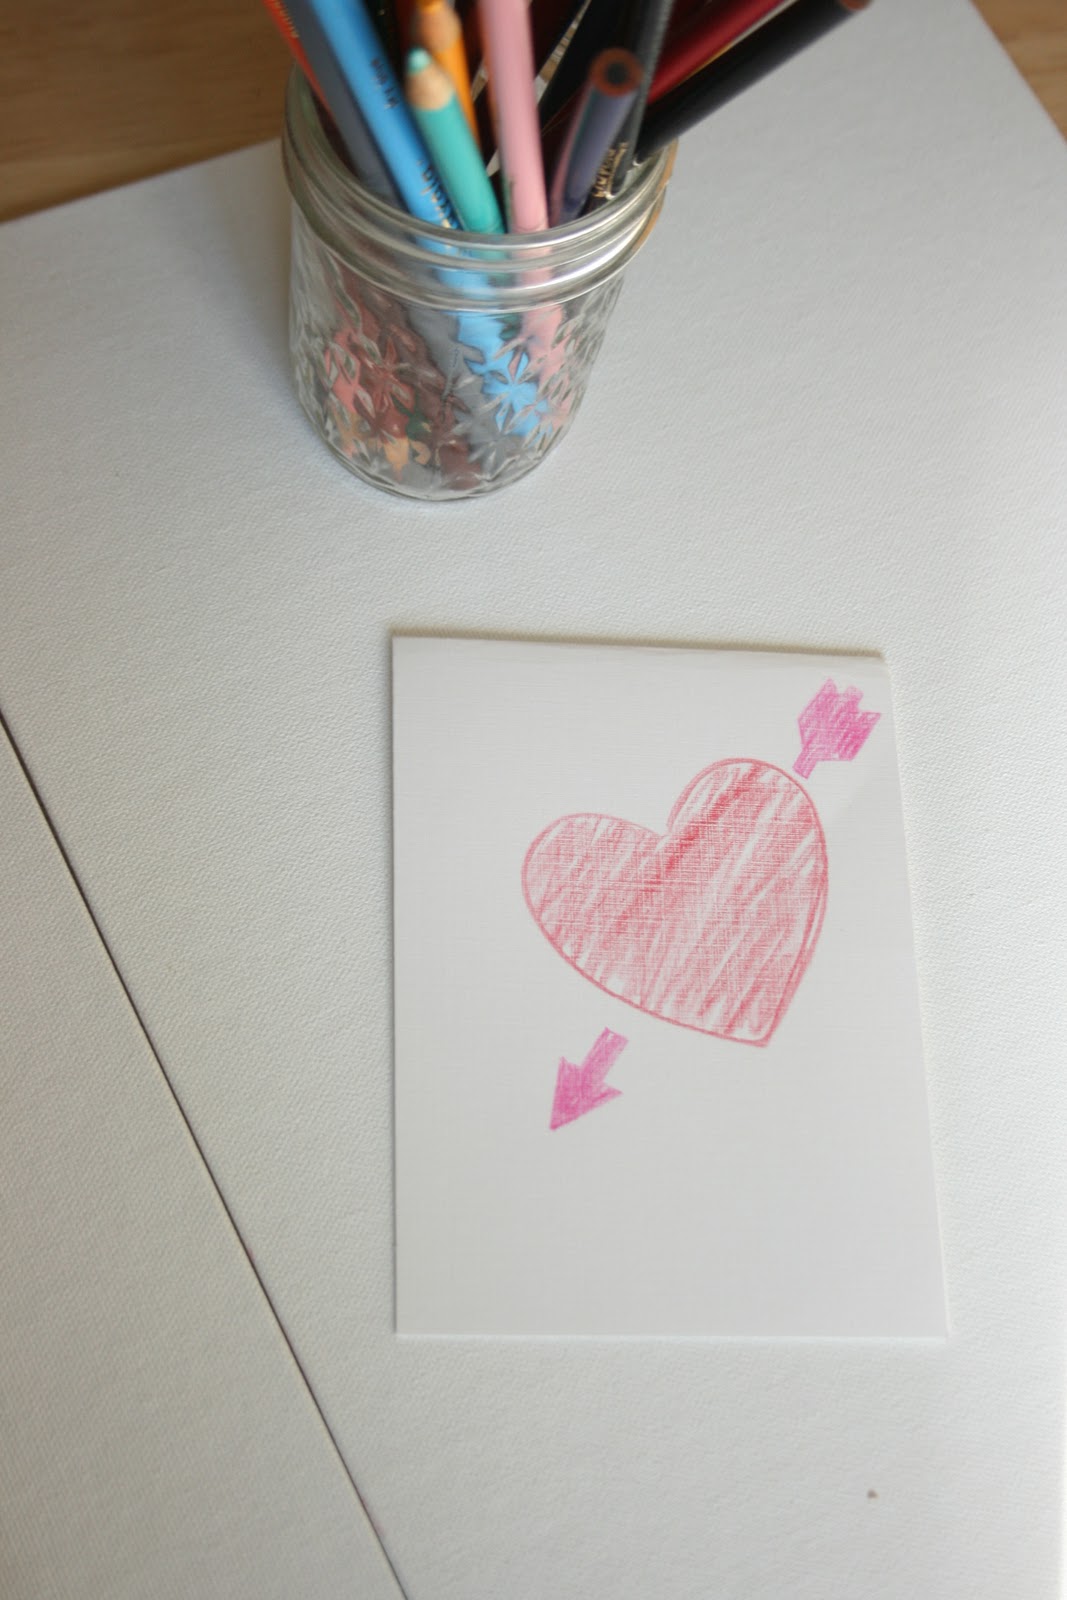
 Outline the heart using the red pencil
 Using the red pencil, fill in the heart roughl
 Switch to the magenta pencil and outline the arrow pieces ans fill in
 Your completed heart should look like this
 Next, stack your construction paper and cut thin strips using your scissors. I used childrens' scissors because that is all I could find and it is a good demonstration that kid's scissors are possible of great things.
 After the strips are cut fold them in half and cut. You should have 6 strips, enough to make two cards
 Look at all those strips!
 Now, lay one strip on your table and place your pencil at the end that is closest to you (your belly), begin rolling the pencil away from you taking the strip with you.
 The strip of paper should wrap fully around your pencil.
 Do the same as before with all of the remanaing strips. You should have a nice piles of little spirals
 Bring your card back into the picture and determin whether you want to use school glue or glue dots to adhere your spirals to your card. Both work. The glue dots are great if you need to be done quick, but look a little more rushed. The school glue drys clear, but takes a little longer.
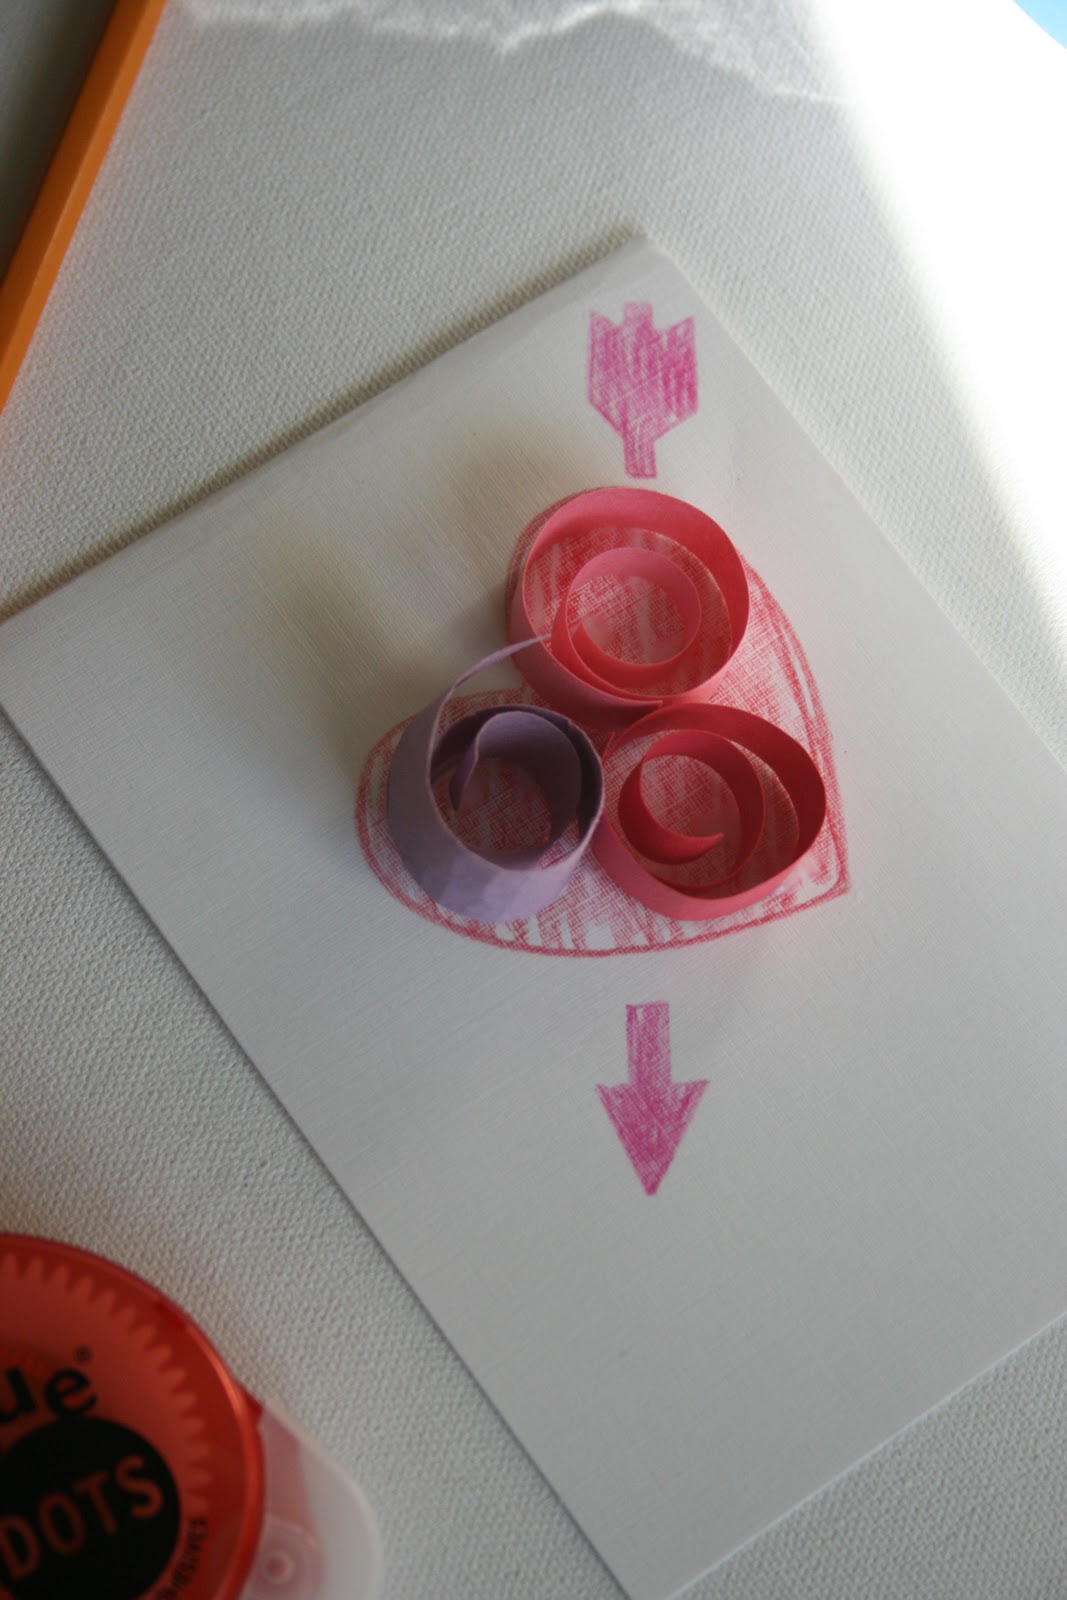
 I went for the school glue. Put a few dots of glue in the locations you want to place your spirals
 Add all sprials to your card and allow to dry completely
 Time to outline and add your personal flair! I love using Steadtler pens, especially the fine points. They don't smear, last forever and are water resistant.
Using your pen of choice, outline your heart, add doodles and maybe a little Valentine's Day sentiment.

And, that's it! Tuck one into your next Valentine's gift.

LinkWithin

Related Posts Plugin for WordPress, Blogger...