Showing posts with label easy toddler art project. Show all posts
Toddler Art: Paint With Q-tips
In a fit of frustration with regular paint brushes I quickly thought on my feet and came up with an alternative. Q-tips. Yes, those little fuzzy white sticks that are a typical tool in the bathroom became our mode of expression the other morning. Q-tips easily absorb water and paint, are just the right size for wee little toddler hands and it's ever so-easy to see what color you are adding to your masterpiece.
We love creating with alternative materials, and we are pleased to add Q-tips as staple to our art closet.
Is there something you have used for a an alternate purpose other than what it was designed for recently?
Fall Leaf Stained Glass
Happy day readers! This morning I was awoken super early by a dog and a child (we're dog sitting, oh, and I have a toddler who always wakes up super early), and thought it was a perfect crisp fall morning for a walk. On our walk the sides of the streets were covered in brightly colored fallen leaves. Yellows, reds, maroons, oranges... swirled together to make a fallen leaf river. Like normal people, E and I began shoveling the leaves into one of the grocery bags I had brought with us (for you know.... because of the dog).
What could be better than to make a leaf collage? And, of course, on contact paper! Because, that's just what I like to do this time of year (see last spring's nature collage).
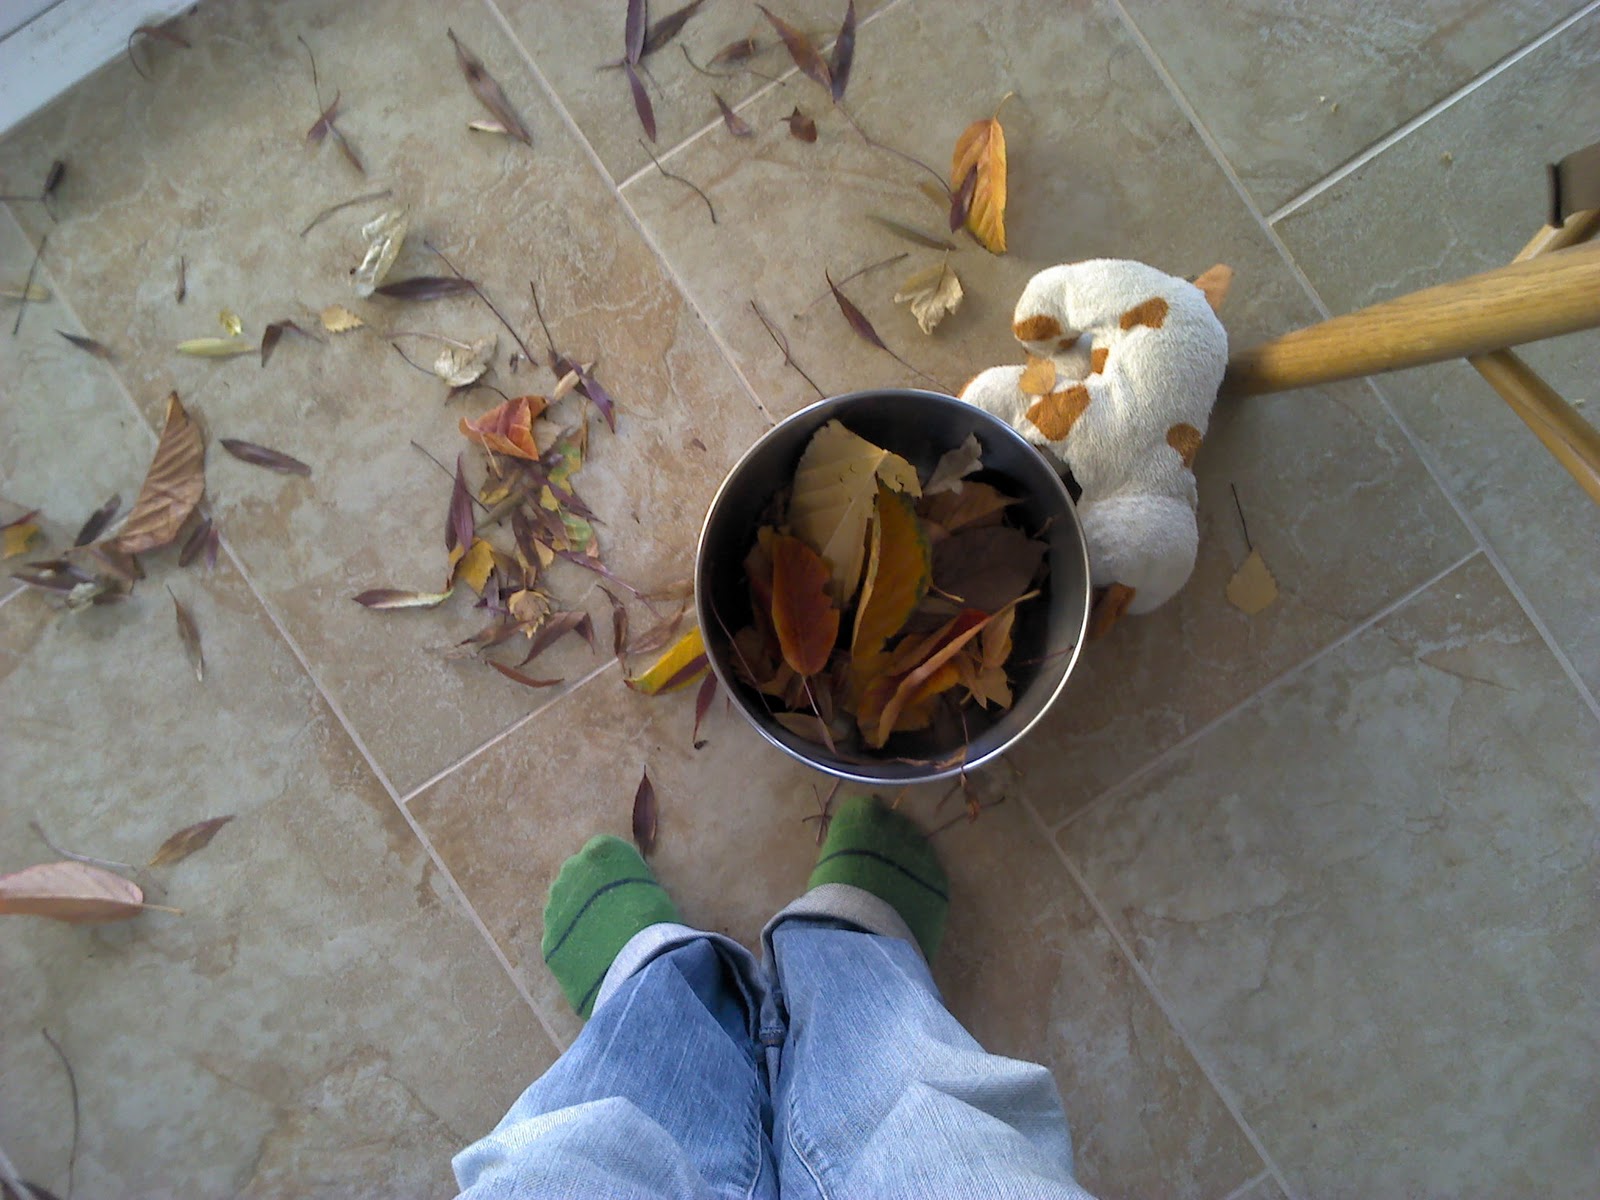
I taped the clear contact paper to our giant glass sliding door, piled the leaves into a bowl and released the toddler. There could be nothing better to a toddler than a giant sticky surface that his mom let's him play with.
Sorting of the leaves took place on the floor before they were carefully selected and placed onto the contact paper.
Once deemed complete, I folded the contact paper in half to secure the leaves inside. We hung it in our living room window for a little fall and Thanksgiving decor.
How do you like to use leaves in your fall decor?
Toddler Craft Project: Chalk Paint
Last week we made Chalk Paint, and oh was it loads of fun! I know I have seen this before and have been dying to try it. Of course, when I went to find a recipe I had a difficult time finding one that made sense, so we made up our own. Hours...and days later we are still painting our sidewalk with these bright neon colors.
The recipe is super easy (and edible too...which I found out when my toddler decided the paint was brightly colored milk....I guess he was thirsty-don't worry, he only took a sip!). Here's the secret to making chalk paint, enjoy!
To Make 1 Cup of Chalk Paint (One Color)
2 Tbls Corn Starch
1 Cup Water
About 5-6 drops of food coloring (we used Neon Colors)
Pour the corn starch in to a cup or jar, add the water and stir or whisk well. Make sure there are no lumps. Add the food coloring. Stir well again until you have the color brightness you want. Go outside and paint the ground!
{Child Craft}: Stamping With Your Food
Let's get crafty today, shall we? First, I would like to apologize for the photo quality of what I am about to share with you. Our impromptu crafting session the occurred while I was making dinner, so the lighting wasn't the best, but oh did we have fun! Stamping with the left-over lettuce ends!
After cutting off all of the leaves to our sturdy romaine lettuce, I handed it over to my toddler with some paint and paper and let him stamp, mash and bang that stock onto the paper making unusual impressions to his heart's content.
We experimented with color mixing. Red into yellow to make orange.
The end of the lettuce is just the right size for a wee toddler's hand. After his painting session we let the masterpiece dry and I turned those "stamps" into a beautiful flower card we used for my Mother-in-Law's birthday.
Have you been creative with your food lately?
Toddler Craft Project {Paint It, Stamp It, Hang It}
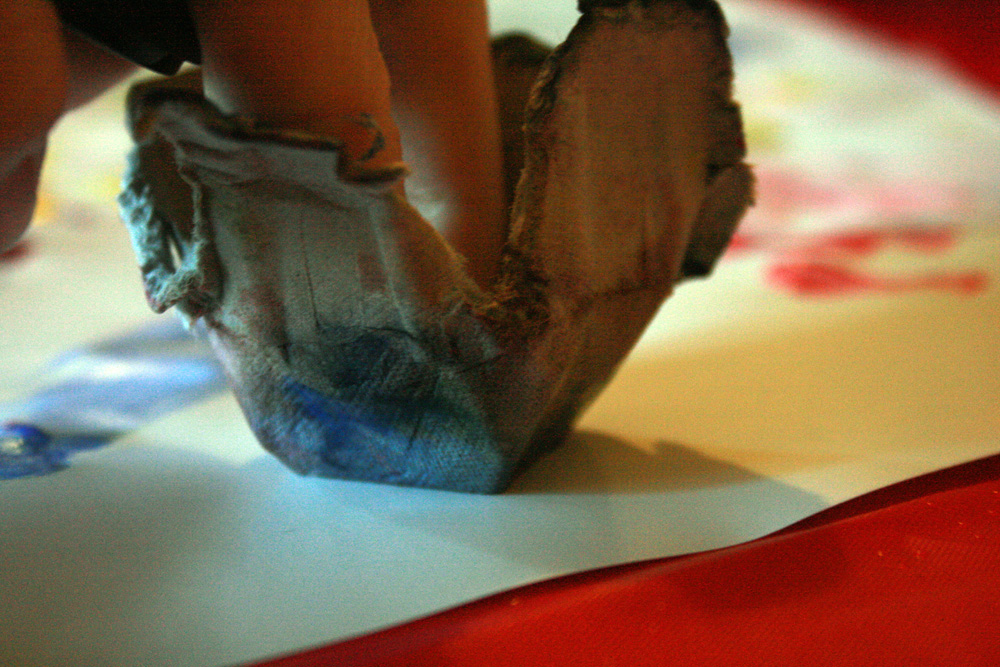
We've been exploring different ways to spread paint. We've had fun painting the tips of egg cartons and using them as stamps. We've had fun mashing up paper-towels and dipping them into paint to create a sponged-sort-of look. We've also been haveing a ball exploring the brush strokes of three different tupes of brushes: Wide, Sponge and skinny.
The best part of all? Hanging the finished work using mini clothes pins! My little artist just loves to stand back and take in the work he's created.
What have you been using to create art lately?
Art Dice
Several weeks back I was a lucky winner of The Tinkerlab's giveaway of a set of fabulous, hand painted art dice!
I can't wait to put these dice to use. I just know they are going to inspire many pictures and projects for years to come.
I just love what a simple and achievable, yet totally awesome, concept these dice encourage. They are meant to inspire creativty, especially when one is feeling at an all time low! Just role the dice, see which three images appear and begin ceating. You might get a green dot, three blue lines, and a triangle. Start your drawing using those images and the next thing you know you have a masterpiece.
I am looking forward to creating my own dice too. I am thinking about making movement/dance dice. Put on a song, roll the dance dice, see what three moves appear (example: jump, twirl, shimmy!) and you have got yourself a quick way to get some new moves for the dance floor.
Toddler Craft Project {Egg Carton Painting}
![]() |
| A little more than just the carton was painted |
Recently the paints made their way to the creativity table again. This time instead of paper we painted on card board egg cartons! There is something enticing about painting on a non-flat surface. My wee one enjoyed moving his paint brush through the rivets and dips of the carton.
Our intention is to turn this little project into a birthday gift for dadda. So far, the wee one has done his part, now if only the mama could find some time to finish it off!
What have you been doing to keep little hands busy lately?
{Guest Post} Paper Plate Chick Craft
Happy Thursday everyone! Today I have a very special guest post from Lauren from Tutus & Tea Parties. Today she is going to share with you a spring/Easter craft project she made with her young daughter. Lauren is an amazing mama, crafter, and blogger and I am so happy she is here! Be sure to give her some comment love, and also check out her adorable childrens clothing and accessory Etsy shop!
..............................................
Materials Needed:
2 paper plates
Orange & Yellow paint (we used finger paint)
Tape/Glue/Stapler
Black Marker
Directions:
Directions:
(have your child do the steps they are able to according to their age. Mine is 20 months and she only did the painting of the plates. As always, supervise your child while doing any craft.)
- Have your child paint one paper plate yellow and one orange.
When the paint has dried, draw two black eyes on the yellow plate.
Cut the orange plate in half.
Place one half over the other, making the top a little higher than the bottom.
Turn over and fold the plate down and secure with tape or glue. (This will be your beak)
OR

Place the beak on top of the yellow painted plate and glue. (I used staples since I was using it for my door. Do not use staples if your child will be playing with it)
Take a strip of orange or red paper and yellow paper. Make cuts halfway down continuing all across the top.
Fold into thirds and secure with tape.
Tape or glue this to the back of the paper plate to make the hair on top.
With your hands, scrunch the paper slits a little.
Enjoy playing with your chick or hang on a door!
{This Moment}
{this moment} - A Friday ritual inspired by Soulemama. A single photo - no words - capturing a moment from the week. A simple, special, extraordinary moment. A moment I want to pause, savor and remember. If you're inspired to do the same, leave a link to your 'moment' in the comments for all to find and see.
Crayon-ning Moment
Last week before we cut Emory's hair we played with crayons for the first time. Giving Emory time to just explore the crayons, their shape, color, texture was probably just enough for this budding toddler. He is at that age where they love to just inspect an item completely. The focus he gives things that he finds intriguing is always a quiet moment for me. I pause. I watch, and too get to explore something for the very first time again.
In an attempt to show him what he could do with the crayons I taped a large piece of butcher paper to our kitchen floor, Drew a few doodles and then placed the crayon in his hands for him to try. He looked at me, smiled, and then continued to place the crayons in and out of the cup I was using to contain them.
Unlike the chalk, which he just began using right away, the crayons offered Emory a more contemplative time. I used Crayola's crayons for 18 month+. They are are triangular shaped and fit well into a little baby's pudgy hands well. I am hoping that our next experience with crayons will produce some coloring action on the paper...and not on my walls. Happy Monday friends.
Subscribe to:
Posts (Atom)