Showing posts with label toddler craft project. Show all posts

Button Snakes: Frugal Toddler Craft


Happy toddler= Happy Mama


I have dubbed those hours between 4-6PM in my house the "howling hours". For some reason at the strike of 4 all our toys render themselves "boring", and the ample amount of fresh air out my backdoor is deemed "too windy." Thus, howling begins.

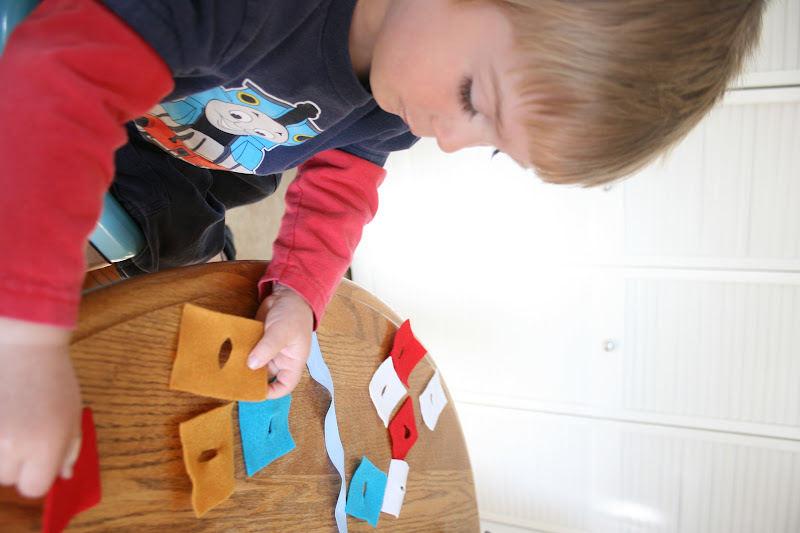
To minimize the howling, and to allow me that much needed time to keep an eye on those bubbling pots of my stove, I have created a "creativity box." The box is just a large plastic Sterlite Organizing bin with drawers, which I now keep several easy to assemble (and guaranteed to keep small hands occupied for at least 20 minutes) activities that my wee one can do on his own. Last week I shared our Modern Art Sculpture that we create using pipe cleaners and spice jars (you can see more detail on this post). This week the new favorite is the button snakes.

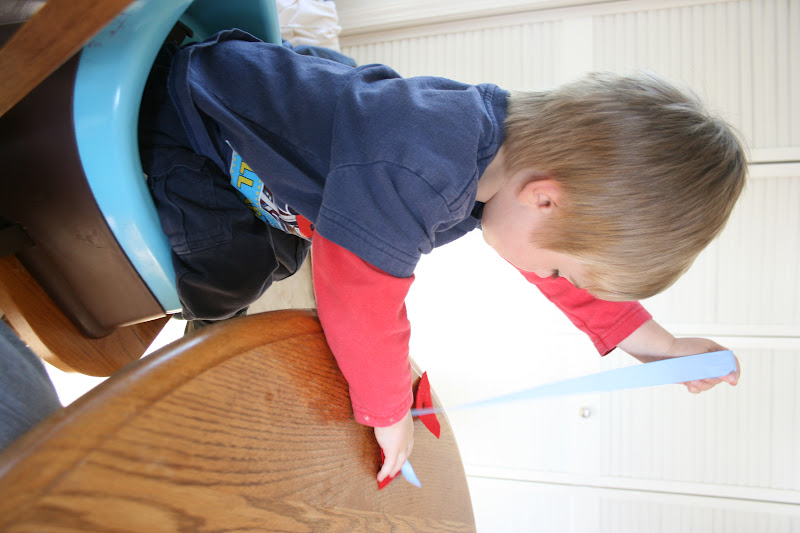
I can't take credit for these easy to assemble "snakes." I've seen them all over other blogs (see: this blog, this blog and this blog)  and within the pages of my Montessori books. But great ideas are meant to be shared, and this one has been a lifesaver for me. The snakes are a  great way for E to learn how to button and unbutton (as potty-training is in full swing), and he also just has fun sorting all of the felt shapes by color and size.

The howling still starts every day, but at least now I have a few more tactics that save my eardrums and my time in the process.

What are your clever ways to keep your children busy during the hours before dinner?

Fall Leaf Stained Glass


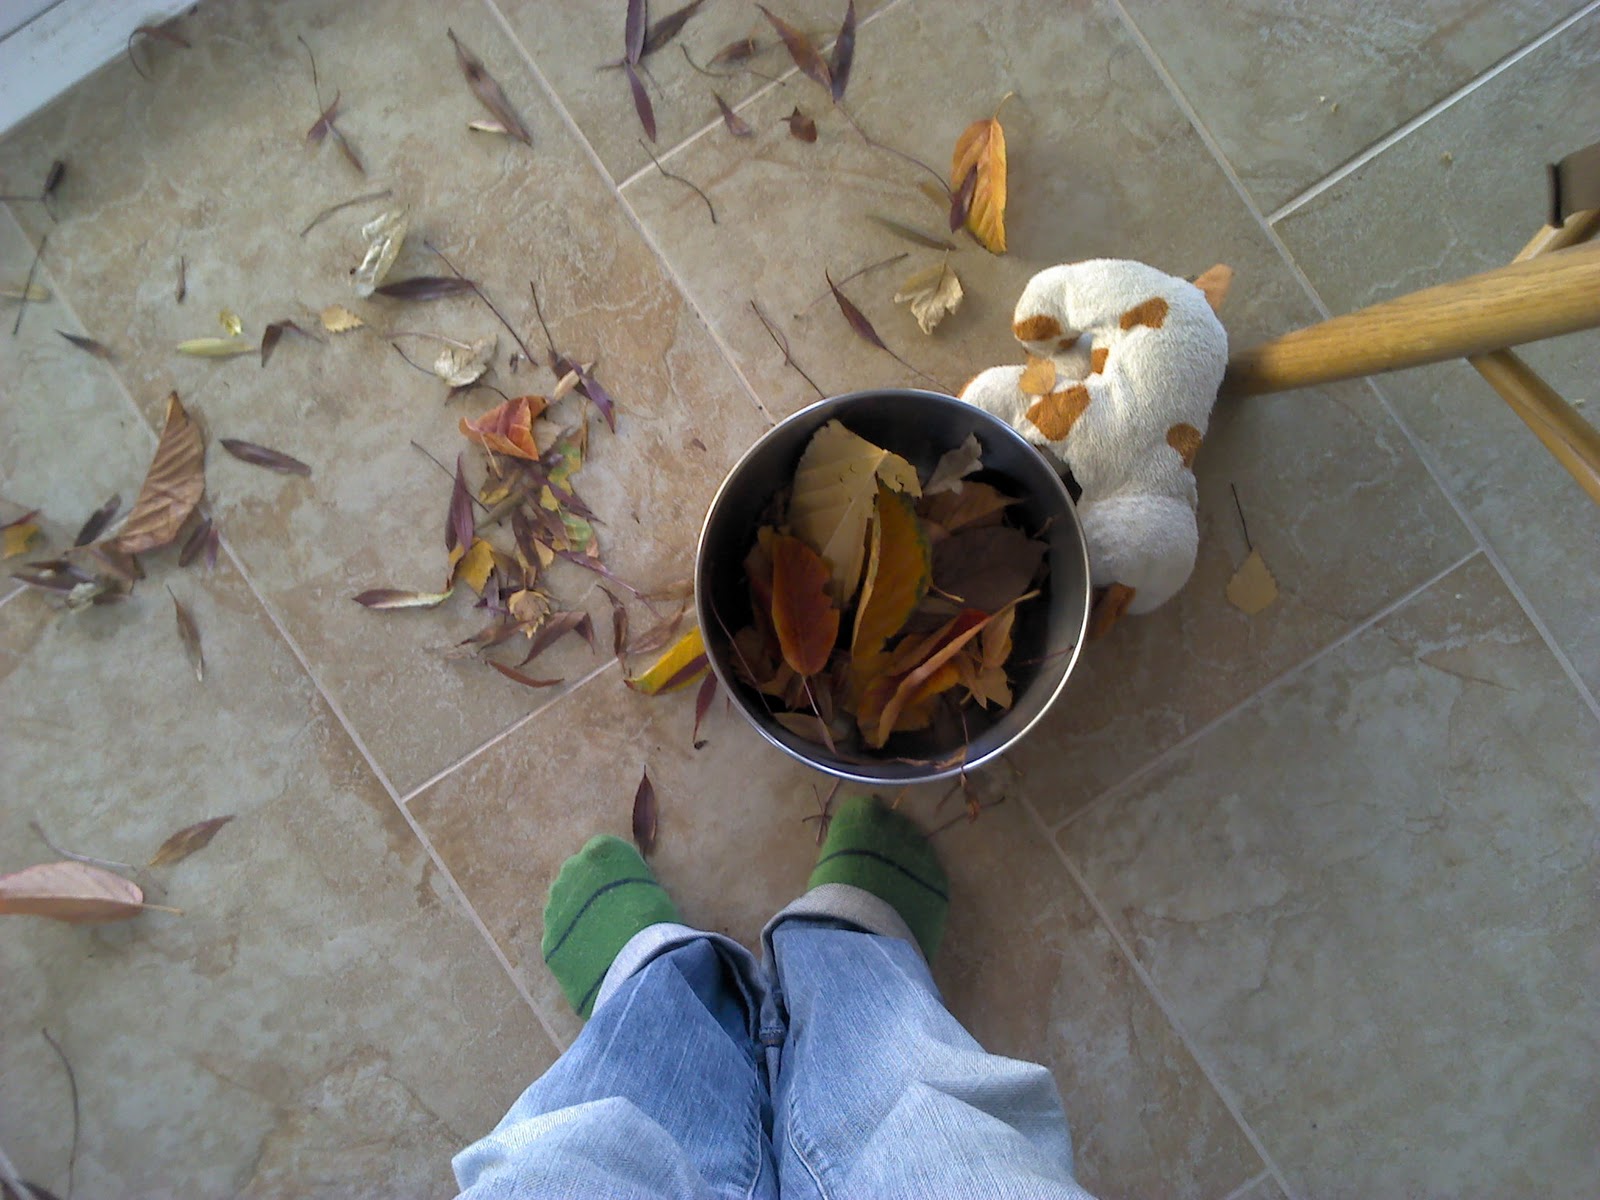
Happy day readers! This morning I was awoken super early by a dog and a child (we're dog sitting, oh, and I have a toddler who always wakes up super early), and thought it was a perfect crisp fall morning for a walk. On our walk the sides of the streets were covered in brightly colored fallen leaves. Yellows, reds, maroons, oranges... swirled together to make a fallen leaf river. Like normal people, E and I began shoveling the leaves into one of the grocery bags I had brought with us (for you know.... because of the dog).

What could be better than to make a leaf collage? And, of course, on contact paper! Because, that's just what I like to do this time of year (see last spring's  nature collage).


I taped the clear contact paper to our giant glass sliding door, piled the leaves into a bowl and released the toddler. There could be nothing better to a toddler than a giant sticky surface that his mom let's him play with.

Sorting of the leaves took place on the floor before they were carefully selected and placed onto the contact paper.


Once deemed complete, I folded the contact paper in half to secure the leaves inside. We hung it in our living room window for a little fall and Thanksgiving decor.

How do you like to use leaves in your fall decor?

{Tutorial} Yeast Dough

We made yeast dough over the weekend, and let me just say: It's SO much fun! The best part? You can use the dough to make pizza! Two fun activities all rolled into one ball of delicious dough.

 E had a great time mushing, squishing, rolling, and especially pulling the dough apart.


Plus, it was easy to make. Just takes a little time. Here's what you need:

3 cups all purpose or bread flour
1 cup warm water
1 packet of active dry yeast
1 TBS Sugar
1 cup olive oil
Dash of salt

To make:
Empty yeast package into a non-metal bowl and pour the warm water over the yeast. Add in the sugar and allow to activate for 5-10 minutes, or until foamy.  Meanwhile, mix together the flour and salt. Once yeast is ready, form a hole in the middle of the flour so you can see the bottom of the bowl. Pour in the activated yeast and olive oil. Stir until well combined. Add a little extra flour as needed. Knead the dough for about 5 minutes and allow it to rest covered  for 1 hour. After the hour is up, punch the dough down hand a little bit to the wee-one and use the rest to make pizza!

Toddler Craft Project {Just Stick It!}


I think it is May...at least that's what my calendar says. However, I some how keep finding ourselves in doors due to wetness, chill, and wind factor. I deemed it necessary to play with those felt flowers again (Remember this post?) and contact paper (Remember this post?)


Yes, we dreamed of all the lovely spring colors (and soon to be summer) as we played with sicky contact paper and felt. Something so fun about selecting, placing, squishing, and later hanging a craft made on contact paper.

In fact, my wee one re-made his little decoration at leats five times before boredom struck and we moved onto...I think bouncing off the walls.

Proved to be a fun tactile experience for him


And I hope it will prove to be a fun one for you too.

How is the weather in your neck of the woods?

Toddler Craft Project {Paint It, Stamp It, Hang It}


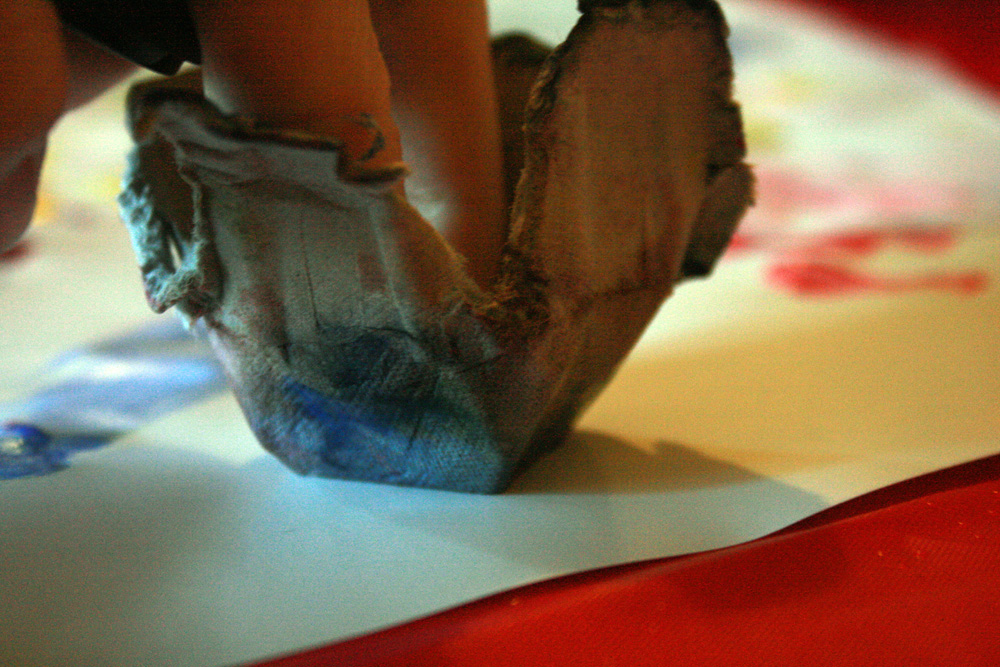
We've been exploring different ways to spread paint. We've had fun painting the tips of egg cartons and using them as stamps. We've had fun mashing up paper-towels and dipping them into paint to create a sponged-sort-of look. We've also been haveing a ball exploring the brush strokes of three different tupes of brushes: Wide, Sponge and skinny.

The best part of all? Hanging the finished work using mini clothes pins! My little artist just loves to stand back and take in the work he's created.

What have you been using to create art lately?

Toddler Craft Project {Egg Carton Painting}


A little more than just the carton was painted
The afternoons have been filled with arts and crafts projects for us lately. Providing little fingers with many opportunities to explore and imagine, while allowing those bigger mama hands to get a few things accomplished themselves (like writing this post!)

Recently the paints made their way to the creativity table again. This time instead of paper we painted on card board egg cartons! There is something enticing about painting on a non-flat surface. My wee one enjoyed moving his paint brush through the rivets and dips of the carton.

Our intention is to turn this little project into a birthday gift for dadda. So far, the wee one has done his part, now if only the mama could find some time to finish it off!

What have you been doing to keep little hands busy lately?

{Guest Post} Paper Plate Chick Craft

Happy Thursday everyone! Today I have a very special guest post from Lauren from Tutus & Tea Parties. Today she is going to share with you a spring/Easter craft project she made with her young daughter. Lauren is an amazing mama, crafter, and blogger and I am so happy she is here!  Be sure to give her some comment love, and also check out her adorable childrens clothing and accessory  Etsy shop!

..............................................

Materials Needed:
2 paper plates
Orange & Yellow paint (we used finger paint)
Tape/Glue/Stapler
Black Marker

Directions:
(have your child do the steps they are able to according to their age. Mine is 20 months and she only did the painting of the plates. As always, supervise your child while doing any craft.)


  1. Have your child paint one paper plate yellow and one orange.

    When the paint has dried, draw two black eyes on the yellow plate.
Cut the orange plate in half.

    Place one half over the other, making the top a little higher than the bottom.
Turn over and fold the plate down and secure with tape or glue. (This will be your beak)

    OR
    Place the beak on top of the yellow painted plate and glue. (I used staples since I was using it for my door. Do not use staples if your child will be playing with it)

Take a strip of orange or red paper and yellow paper. Make cuts halfway down continuing all across the top.


Fold into thirds and secure with tape.


Tape or glue this to the back of the paper plate to make the hair on top.


With  your hands, scrunch the paper slits a little.

Enjoy playing with your chick or hang on a door!

{Tutorial} Make Your Own Finger Paint

Oh yes, we did...we made paint. Lot's and lot's of FINGER PAINT! And yes, I got my baby naked (well, almost) and we painted. It was a blast. Make your own paint, so your kitchen can also look like a Jackson Pollock painting too.


 We got the idea from the book First Art by Maryann Kohl. If you don't have her book check out some of the websites below for insight on how to make the paint. Fair warning: You will use A LOT of food coloring. My first batch was lumpy and basically see through. The second batch came out much darker and thicker. No idea why, truly!

Check out:
E-How
&
Creative Kids At Home

Just remember to make sure they don't eat it (don't worry, E did and he's fine)! Hope you have as much fun as we did!

PS: Did you enter the GIVEAWAY yet?

Chalk It To Me!

 The rain subsided here for maybe 3 hours and we promptly jumped in our coats and were out the doors. What to do outside when the ground is sopping wet? Play with chalk...of course! I know, what is this mama thinking? Well, I have been wanting to try out chalk with Emory for weeks now and every time we have tried it just didn't work. So, I thought whats the *^%$, let's do this! So, off we went to make some art on the cement. Oh was it fun.
 Nothing special used. Just some old chalk I had laying around out house. Note to self, buy bigger pieces of chalk as toddlers have a tendency to break them, step on them, and mash them into anything they think could use a little color make-over.
 Emory's first chalk drawing took place on one of our posts that holds up our retaining wall. I like the color combo of the vibrant green moss and his choice of pink. He had a lot of fun cracking the chalk into pieces and rubbing it all over the wood.
 The best part about the small pieces of chalk is he could practice taking the pieces in and out of the container over, and over, and over again. A true toddler's passion, right?

LinkWithin

Related Posts Plugin for WordPress, Blogger...